
April 20th. The day I realised what I had done.
It started out like any other day. I was digging around in my garage/workshop/vr gaming mancave, when I came across a box of old, discarded 3d prints. These are test prints for the last arcade machine. The invader shape printed in black PLA at the top of this pic is for two front panel buttons. The crazy shape in green at the bottom is a template for cutting out that shape in MDF for mounting the button and joystick housing I 3d printed for the last arcade cab. Count the button holes... Remember that number.

That last cab had these parts in the marquee with LED lights behind. It looked really cool. The only problem is PLA is not the best or most reliable material. And it turns out putting hot little LED lights right behind it in an enclosed space makes it heat up! And PLA has a very low melting point. Yes. The last marquee drooped a bit. It's an age thing.

A set of LED lights from that reputable company... er... I have never got round to using these in anything. For those not aware of the English colloquialism, the dictionary definition is "an unattractive or unpleasant person or thing."

These were what I had been hunting through storage for. These controls were from my very first attempt at an arcade cab.

It pains me to share this, but this was my first. She's an ugly thing but she gave me hours of pleasure. My biggest mistake (apart from that MASSIVE bezel, the huge chin on the control panel, the multitude of controls on the frankepanel, and the fact it weighed as much as a small car) was I got it to this stage and then started playing games on it. That killed the project dead, never got any further. Half of the controls made their way into the last bartop I built, and half into BEETONCADE.
Oh look! Seven buttons!

I had a count up. The number of holes I had drilled meant I only had enough buttons for each player (eight each) if I used some smaller buttons for start and select. Also, one of the buttons was missing a few important features, like its inside bits.

Here are the buttons I decided to use for the start and select controls. They are nice and small, they don't need to be clicky as they don't serve a purpose during gameplay. Perfect. Everything was going really well at this point!

I had to commandeer these speakers from in the house. They were being used as a white noise generator to aid sleep for one of my family. They get plenty of sleep, and I needed speakers.
Actually, I bought them a new pair and took these ones. The new pair would probably have been better as they had better inline controls. That would have made mounting the volume controls easier. But these actually sound pretty good for an old set.

The secret to getting the front off is, be nasty.

Couple of screws under the front panel and we can see the inside bits. Nice tiny speaker, should be a doddle to mount inside even this tiny arcade cab.

This is the volume controls and amp. It ended up being very fragile and required a lot of fixing to make it stable.

Trying out various options on mounting location. Bottom of the case was not going to work, I had a lot of stuff to cram into that tiny space and speakers that fire down under the unit don't work quite as well. The marquee was the way to go, I would have liked to have them firing straight out through the marquee front, there is room either side of the name, but the speakers are just a little too large and cutting them down would be risky. Firing down from under the marquee turned out really good.


Thought it would be a good idea to test out the buttons, make sure none of the ones with a full complement of inside parts were dud. All of them, not the empty one, were fine.

And a test fit in the control panel. Nothing fixed yet. Wow, that's a lot of buttons...

Anyway, never mind that, here they are from beneath! Feel like I am making really good progress now!

Going to need 16mm holes (sorry imperials) for these other panel buttons.

Screws found in the screw nest for the joysticks. I usually mount from beneath by screwing into the wood, but MDF is not very strong when used this way. It will work, but it wont like being taken apart multiple times. There will be two nuts for each bolt to stop them working loose.

In a big hurry now, no idea why, think my subconscious was trying to point something important out to me, some important detail I was missing. Never mind all that, on with drilling holes in stuff!

Lined up the joysticks under the control panel and marked out the screw holes. I freehand drilled these as, because idiot, I had glued the control panel in place. Bit tricky getting it to balance on the drill press!

Here are fresh holes.

Countersunk, or started to. You can see the screw isn't sitting flush or straight. The holes were crooked.

A stick is attached. Lotta holes under there. Looks like swiss cheese.

Again, you can see the screws are not straight. Annoyed at this.I compensated by making the countersinks slightly deeper. Terrible.
And then it hit me. Why did I have eight buttons per player? I was intending, in order to keep costs down, to use the GPIO connector on the pi to connect the controls. Now the important detail here is that the GPIO connector will support a joystick and eight buttons per player... INCLUDING start and select. So, six player buttons per player. I had a sit down and cried for a bit.
Choices.
I could swing for a couple of zero delay USB encoders, I even had one hanging about, but that wasn't exactly spare. I would still also need to replace the button without buttony bits inside if I did this.
Or...
I could rip the control panel out and make a new one. This carried risk but was the cheapest and neatest option. The risk was I would tear out important bits of wood when I took the control panel out. Wood glue is AMAZING. It doesn't fail. The wood around it fails. So when I pull it out, either the wood on the control panel gives, or the wood in the cabinet does.

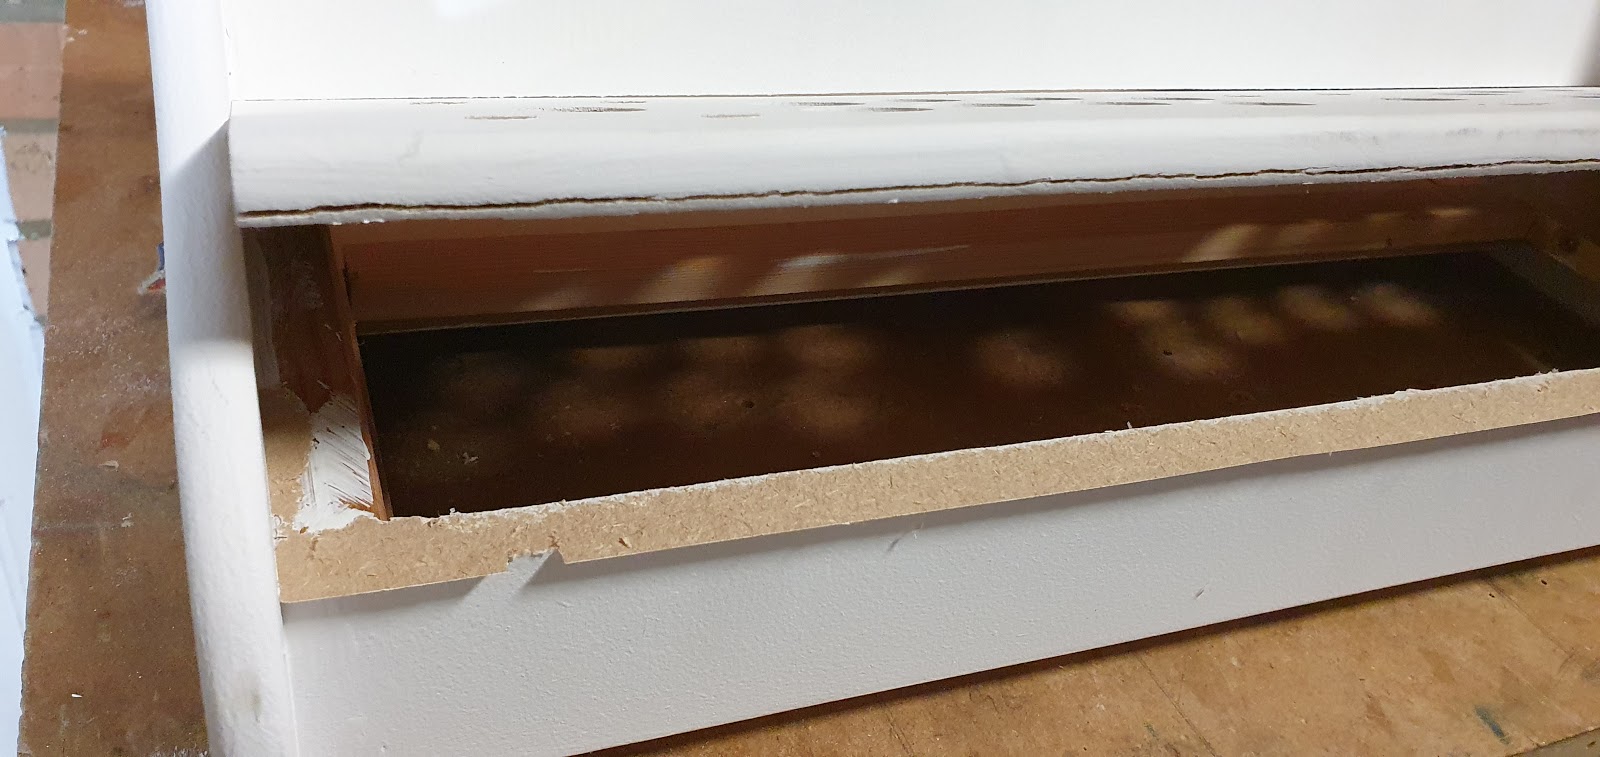
Removed any screws that were joining it to the cabinet. Could actually safely remove all the screws in the cab now, they are only there to hold the wood in place while the glue dries. I took a large piece of wood, and a hammer, and started whaling against the lip under the front edge of the control panel.

The control panel gave up first! Result. It left some DNA in that bottom edge but that would sand off easy later. And that was the end of that day...
April 21st. A new day. No more mistakes! Nope, not me. Going to be plain sailing from here on out.
First job, new control panel. Got a new table saw! It made this so freakin easy. Wish I'd had it for the other parts.


Rounded over the front edge. A little rounder on the top than the bottom.

It's a perfect fit. You can make this cut, this accurately, without a table saw, but it would take a lot longer. Certain tools are there just to save you time. Also for repeatability.

I had made this control panel slightly deeper, when testing the old one for fit I found there wasn't enough wrist rest to be comfortable. So I extended it out beyond the side panel. It left this ugly corner that needed changing.

A paint can to draw a curve and five minutes with a palm sander.

Much better.

Now I work out where I want the controls. This time I made them a little further apart (had some room as missing four buttons!) and rotated them away from each other a little more. Gives each player a lot more elbow room. Using the plate from the bottom of the joystick to line things up.

Without some idiot glueing it in place it was easier to use the drill press to drill nice neat, straight holes.


Back out into the fresh air with spade bit for the 28mm holes. Hate this bit. Need a better mask, but for some reason they are kinda hard to get hold of right now.

Took my time, going from side to side.

Probably a little over-cautious.

And we are through. Didn't take too long this time.

Another test fit to finalise the joystick position. There's an outline on player two's side.

Back to the drill press. These are the important holes.

I used the drill press with the countersink bit and it ended up being much nicer than the previous attempt. It's almost like I knew that last control panel was going to be junked and made a hash of it on purpose.

While I had the drills out I marked the positions of the start and select buttons. Start buttons on the bezel below the screen, out of the way of accidental presses, and select/add coin buttons below the control panel. I put them there to ape how you would reach down to slot in another 20p when playing Golden Axe. Yeah, it was 20p when I played it. Also, ape.

Test fit of the small buttons. They are meant for thinner panels and are push fittings, they would need hot glue to stop small boys working them loose.

Added a brace at the back of the control panel. 12mm MDF is a little bouncy. This helps.

All the holes!

And another goosebump moment. Even though I had repeated a lot of work while replacing that control panel I felt pretty good when I took that pic.

Couple more things before I gave up for the day. Added a block of wood here. I intended to put the pi here but in the end, I didn't. But it was fun using my nail gun to pin it in place.

And final job of the day, a coat of acrylic primer on the marquee and the new control panel.


That was a LONG one! Prizes if you got all the way through. Send me a coded tweet that has the word "haddock" in it somewhere and so I know who the real heroes are. Yeah, you are the real heroes my secret haddocks!
Coming next! - Speaker mounting, wiring and grilling.
No comments:
Post a Comment