
All of the MDF I had was cut to the width of the cabinet. I needed to cut these larger boards down to the individual parts of the cabinet.
I cut them close to the final size and then took them to my, pretty bad, table saw. With some messing about I managed to get everything almost exactly right.
Next, I took the board that had been cut to the height of the cabinet and marked out the contour of the side panels. These I cut out with a jigsaw and then sanded to the final shape. This is where MDF comes into its own. It's so easy to shape with a file or sandpaper.

Once I had that panel how I wanted it I lined it up with the other side and drew a line which I then jigsawed. I didn't saw directly on the line, but next to it.

Then I clamped the two pieces together and ran a router around the contoured part with a pattern bit to make them identical.

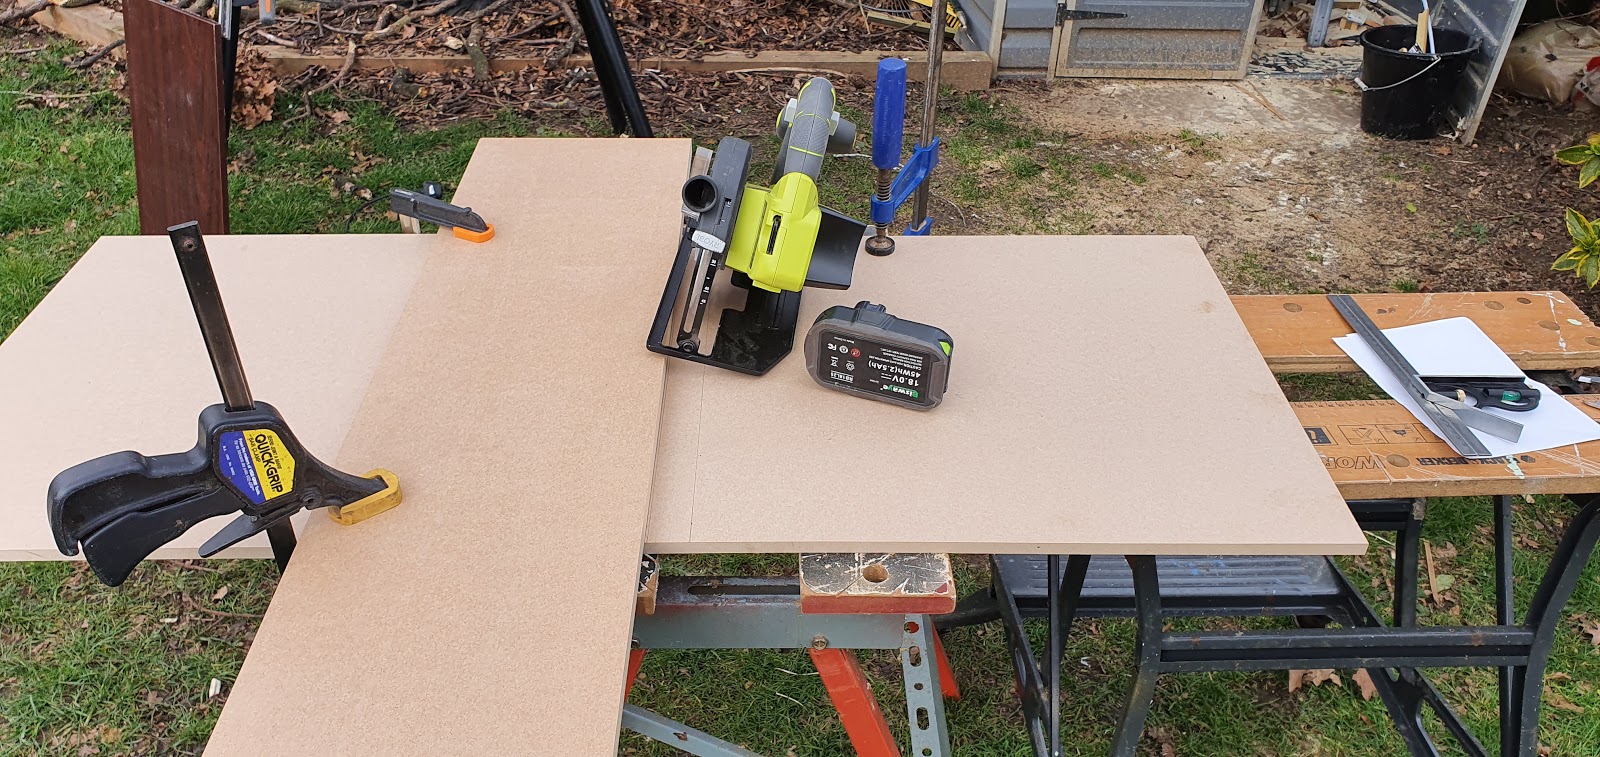
If you zoom in on this last pic you can see where I started to set out the lines for all of the connecting panels

Here is the pile of connecting bits. Top of marquee, bottom of marquee, bezel, control panel, front of control panel, rear door, base, bottom of back, back door. All the same width.

Next job was to cut a load of strips of wood, I had some nice pine spare, and make battens out of them. These needed to be very accurate. I wanted the joins to be exact without misaligned panels. A couple of mm out at one end could spiral out of control by the time I got to the other end. I drilled out holes in the battens on a drill press to make sure they were straight, then lined up where I wanted it to go on the board and used the drill I had used to make the holes as a centre punch. This meant the holes would be very accurate. I used my lovely wife's hammer, she complains that I keep stealing it. Its a really nice hammer, perfect for this kind of work!

The battens for the top, rear and base were easy. But I ran into a small problem. The bezel panel I had was not square. I had spare wood, the whole thing used less than half of the 8ft by 4ft board, but I was reluctant to use that unless I really had to. I squared it up by trimming it on my table saw and decided to make it fit by adjusting the other parts around it. This meant fixing the remaining battens would have to wait till I finished the bezel.

And here it is! I was on song when I did this part. It came out the most perfect I could have wished and hoped for. When the screen is in position you cant see any of the metal housing and it is so exact that there is no loss of screen.

On the other side I placed the screen and traced around it with a pencil. I freehand routed a rebate for the screen to sit in, to bring it closer to the surface and give it somewhere to be supported. It looks a bit messy but somehow I nailed it first time. When I dropped the screen into place it slid in position without any play and was perfectly aligned. I have no idea how this happened. I wish I did.

Now with the final dimensions of all the parts sorted I could finish the interior battening. Note the space between the top of the control panel and the base. It is the distance of the workings underneath the joystick, plus about 10mm spare.

On my last cabinet I had screwed the panels together from the inside into the MDF. This wasn't ideal, MDF is ok when fixed into this way, but it isn't great. I decided that, with the good access in the back and the base, I would glue this one together permanently.

I have a couple of Ryobi nail guns, they are superb. I used the 18 gauge one to pin nail the panels from the outside with plenty of PVA glue. These do leave small holes and blemishes, but I knew the finish on this would be paint so it wasn't a problem. Large screw holes could be a problem if the filler pops out later on.

My first time seeing it put together like this I was a little shocked at how small it is. I did wonder if it would be big enough even for two small lads to be able to fit. But the control panel is actually the same width as my old bartop, so it's fine.

No comments:
Post a Comment